Create your Daggerheart character with this step-by-step guide, then record your choices in a digital sheet. Keep the rules beside you as you build, and discuss your character with your group before play.
For a Seraph, start with Quest Portal’s Daggerheart Seraph character sheet. Open the template page and use its app link to continue. You can also browse character sheet templates. Choose your rules options yourself and record them in your sheet.
Before you play, check that your sheet is complete, review any uncertain choices with your GM, and save the character details you want to bring to Session Zero.
Character creation checklist
Choose class and subclass; choose heritage; assign traits; record core statistics; select equipment; write background; create Experiences; choose domain cards; establish party connections.
Step-by-Step Character Creation in Daggerheart
Let’s break it down.
Step 1: Class and Subclass
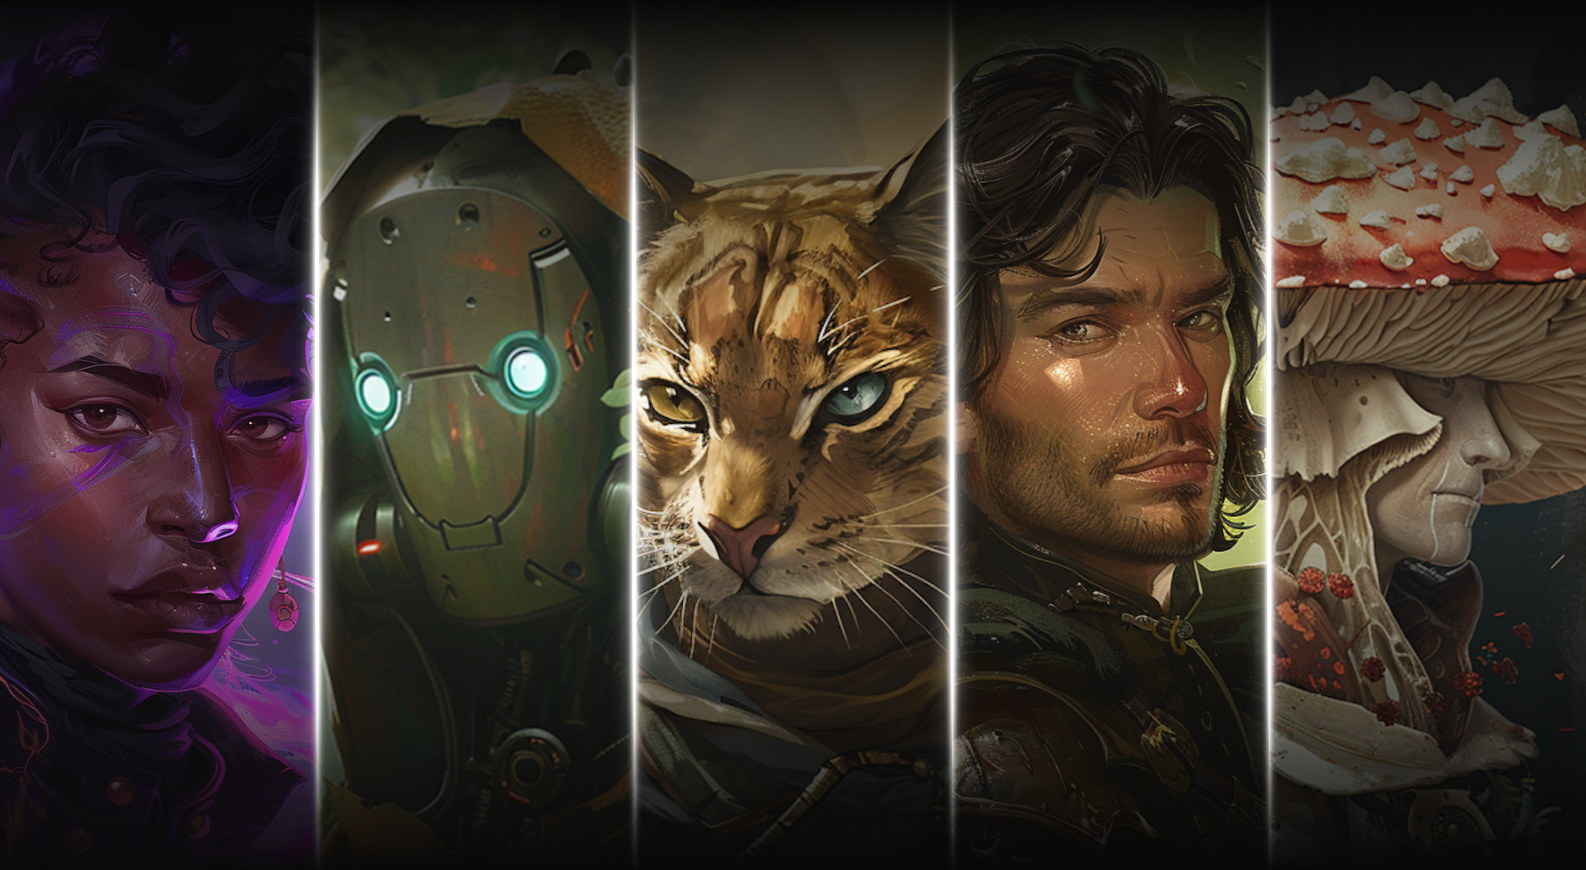
Your Class defines your heroic role and mechanical core, whether you’re smiting foes, weaving illusions, or tracking beasts in the wild. The core game has nine classes. SRD 2.0 also includes Assassin, Brawler, Warlock, and Witch. The nine core classes are: Bard, Druid, Guardian, Ranger, Rogue, Seraph, Sorcerer, Warrior, Wizard
Each Class includes:
A unique class feature and Hope ability
Class guide and Character Sheet
Access to specific Domains (used in Step 8)
Then, pick one of two subclasses for that Class to specialize in your flavor and abilities. Each subclass has its own Foundation card with unique perks.
Example Builds:
Want a divine healer who can also tank? Try a Seraph with the Valor and Splendor Domains.
Want a silver-tongued trickster? A Rogue with the Grace and Midnight Domains might be your vibe.
Step 2: Heritage
Your Heritage is your Ancestry plus Community, which shapes your character’s identity and worldview.
Ancestry (Elf, Orc, Faun, etc.): Grants 2 ancestry features
Community (e.g., Wildborne, Slyborne, Orderborne): Grants 1 community feature
For mixed ancestry, take the first ancestry feature from one ancestry and the second from another, then choose your community.
This combo gives flavor and mechanical hooks for how you interact with the world.
Example Builds:
Want a sturdy forest warden? Try a Firbolg Wildborne Ranger
Want a goblin raised in high society? A Goblin Highborne Sorcerer could be delightful chaos
Step 3: Traits
There are six core traits:
Strength – brute force and physical prowess
Agility – movement, and reflex
Finesse – stealth, dexterity, fine control
Instinct – intuition, awareness, natural insight
Presence – charm, intimidation, performance
Knowledge – logic, memory, and analysis
Assign modifiers using the spread: +2, +1, +1, 0, 0, -1. These impact how your character performs action rolls and interacts with the world.
Let your concept guide your stats. Playing a musclebound druid? Give them +2 Strength instead of the usual +2 Instinct. Daggerheart rewards story-first thinking.
Example Builds:
Playing a charming duelist? Give your Rogue +2 Finesse and +1 Presence.
A scholarly Wizard might go with +2 Knowledge, +1 Instinct.
Step 4: Core Stats
Boring but necessary. Fill in the basics:
Level: Start at 1
Evasion: Found on your class sheet
Hit Points (HP): Based on Class
Stress: Everyone starts with 6 Stress slots
Hope: Start with 2 Hope tokens
Example Builds:
A Warrior with high Evasion can dodge and tank in close quarters
A Bard with lots of Stress slots is ready for emotionally intense scenes
Step 5: Equipment
Time to suit up! Choose your weapons, armor, and starting gear:
Weapons: Pick from Tier 1, one two-handed weapon or a primary + secondary one-handed set
Armor: Choose Tier 1 and calculate Thresholds using your Level (1)
Proficiency: Starts at 1; determines how many dice you roll for damage
Starter Items: Torch, rope, gold, potion (healing or stamina), and class-specific gear
Example Builds:
A Rogue might dual-wield daggers and wear light armor
A Guardian could rock a warhammer and heavy plate armor
Step 6: Background
Here’s where the soul of your hero emerges. Use your Class guide's prompts or create your own story. It can be a single paragraph or open-ended, as long as it makes sense. Your Experiences (next step) should logically follow from it.
Example Builds:
A Faerie Bard who once performed for royalty? Great setup for “Silver Tongue” or “The Show Must Go On.”
A haunted ex-soldier might choose “Lone Wolf” and “Hold the Line”
Step 7: Experiences
This is one of Daggerheart’s most innovative features. Experiences are short phrases that reflect your character’s past, such as "Streetwise," "Reluctant Heir," "Nature’s Friend," or even "Fake It ‘Til You Make It." Think of them like personal story tags. They’re your secret weapons for flavoring the action and tying mechanics to roleplay.
You start with two, each with a +2 modifier.
Spend a Hope to apply an Experience to a roll.
Experiences can modify relevant action or reaction rolls when you spend Hope; they do not grant spells or special abilities.
Each gives a +2 bonus when you spend Hope, and the tag applies
Experiences must align with your background.
It can be a profession (Bounty Hunter), a trait (Affable), or a phrase (Fake It Till You Make It)
Example Builds:
A stealthy Slyborne Rogue might take “Sticky Fingers” and “Wolf in Sheep’s Clothing”
A Seraph raised in a noble temple could go with “High Priestess” and “Leader”
Step 8: Domain Cards
Domains are magical, thematic power sets that grant active and reactive abilities.
Your Class determines which two Domains you have access to. Choose two 1st-level Domain Cards from those domains—either two from one Domain or one from each.
You start with two 1st-level Domain cards and expand your deck as you level up.
Example Builds:
Sorcerers choose cards from Arcana and Midnight.
Bards choose cards from Grace and Codex.
Step 9: Connections
This is where your party becomes a story. Your Connections are social ties with the rest of the group. Use your Class guide's prompts, go around the table, and create at least one link with each other PC (or leave some open for later play).
Example Builds:
“You once saved me from my worst fear.”
“I know your secret and I’ll keep it for now.”
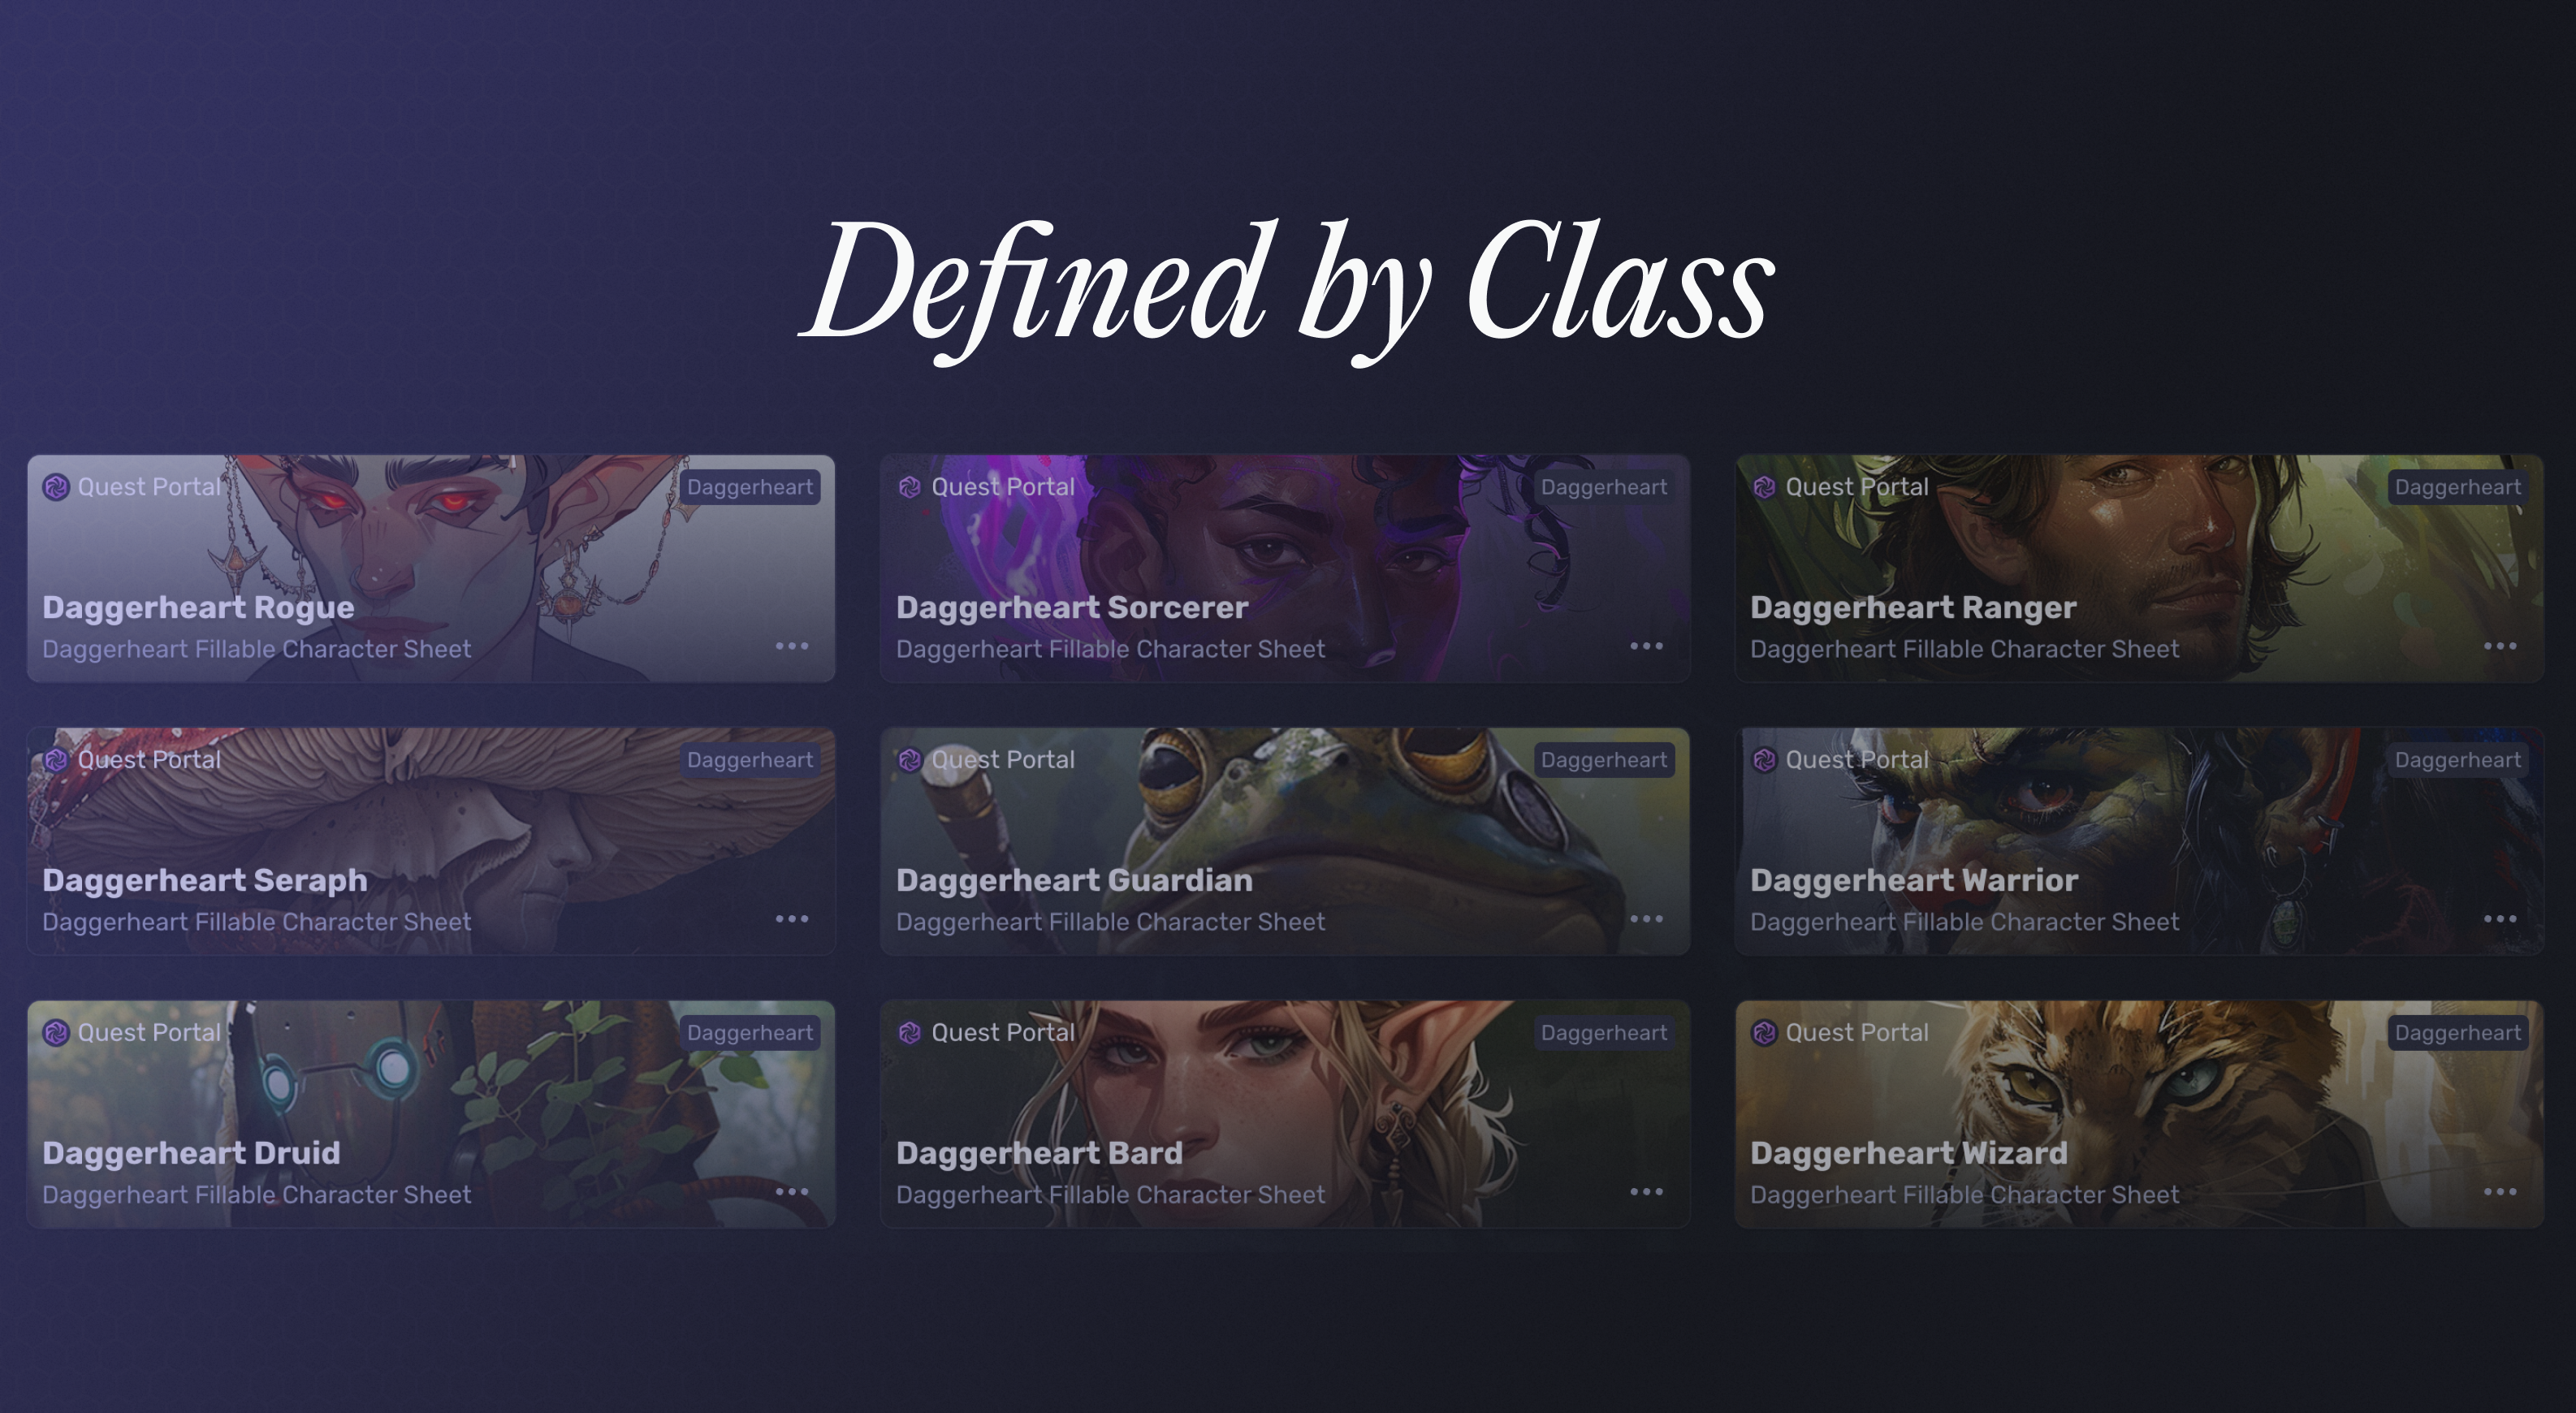
Using Quest Portal Character Sheets
Open the Daggerheart Seraph template to preview a sheet and follow its app link. Record your chosen options and customize the sheet for your game. For another character, browse the template collection. Keep the official rules open while completing your sheet.
Tips for Players: Get the Most from Your Character
Here are a few suggestions to make your Daggerheart character shine:
Build from the backstory forward: Let your experiences reflect your character’s past, even if it doesn’t affect combat directly.
Use the sheet as a journal: Track fears, evolving relationships, story beats, and character growth.
Don’t sweat optimization: Daggerheart rewards story arcs over min-maxing. A well-written Experience or low stat can be more powerful than a big bonus.
Next Steps with Daggerheart
Add the Daggerheart SRD to your Quest Portal library for free
Try the pre-built Daggerheart Quickstart adventure: Sablewood Messengers, on Quest Portal for free
Read our blog Where to Buy Daggerheart (Physical, PDF, & Online Play)
FAQ: Creating a Character in Daggerheart
Q: Do I need the physical Daggerheart Core Set to build a character?
You can consult the free official Daggerheart SRD while completing your character sheet.
Q: Can I mix ancestries?
Take the first ancestry feature from one ancestry and the second from another, then choose your community.
Q: Are certain Classes better for new players?
Yes. Classes like Guardian and Seraph offer intuitive playstyles, while Rogue and Wizard have more moving parts. But all Classes are viable and narratively rich.
Q: How do I use Hope and Fear in character creation?
Hope is a player resource; Fear is a GM resource. They are not character personality traits you select during creation.
Q: Can I build my character before Session Zero?
You can start early, but leave room to connect with the rest of your party. Session Zero is a perfect time to refine connections and thematic alignment.
Jump to section

